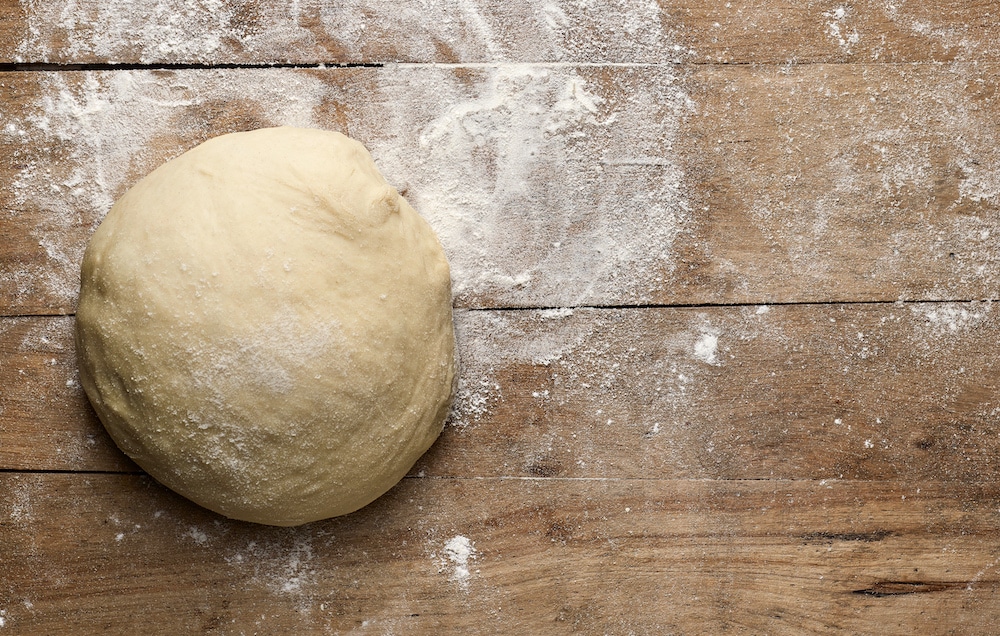
There seems to be a lot of confusion over the use of dough forming equipment and dough forming methods. A lot of people believe you can use whatever forming method you like – or whatever suits your needs – and produce the crust characteristics that you want in your finished pizza. Nothing could be further from the truth. Each and every crust-forming method or procedure imparts its own unique characteristics to the dough, which, in turn, affects the finished crust.
I have often used the example of standing between a pair of railroad tracks and looking down the tracks into the distance. What you appear to see is the tracks coming together, much in the same way as we might view the use of a sheeter and a dough press to form our dough. They appear to produce the same product. But, like the railroad tracks, when you get to the spot where you thought the tracks converged, they are actually still separated. The finished crusts from the different dough forming methods are not alike as they had originally appeared to be. This is not the result of magic, or dough formulation; rather, it is the result of the unique properties imparted to the dough as a result of the forming method itself. Each and every forming method imparts its own unique characteristics to the dough. One isn’t necessarily any better or worse than another, but they’re all different, and that’s what we’ve got to remember.
Related: How to improve your pizza crust’s flavor with minimal effort
When selecting a forming method to use, first ask yourself: What characteristics do you want in the finished crust? Then, you can look at the different dough forming methods and choose the one that will come closest to providing those characteristics.
I am providing below, a list of the different forming methods along with the general characteristics that each method imparts or contributes to the finished crust. By matching the sought-after characteristics to those provided, you should be able to make a well-informed decision as to the type of dough forming method best suited to making your particular crust.
Dough Sheeters and Die Cuts

This forming method involves the use of a dough sheeter to form dough balls into flat dough pieces for use as pizza crusts. It may also involve the use of large dough sheeters for producing an endless ribbon of dough from which individual pizza skins are cut out using special circular cutting dies. This forming method generally produces a crust with thick, heavy internal cell wells. This is created by the way the dough passes through the sheeting roll(s), disrupting the gas cells and degassing the dough along the way. If this dough is to be used to create an open cellular structure, it must be allowed to proof (rise) for a period of time (20 to 70 minutes) between the forming and baking stages. As the dough passes through the sheeting roll it receives additional work, much like additional mixing. This work has a tendency to further toughen the dough through gluten development, which can result in unwanted snap-back, or dough shrinkage, after forming. You can address this problem through the use of certain additives containing dough-relaxing materials, such as L-cysteine, glutathoine, deodorized vegetable powder, or sodium metebisulfite. If one of these materials is not used, the formed dough piece may need to be set aside for 10 or 15 minutes, allowing it to relax a bit, and then passed through the sheeter again to bring the shell/skin out to full diameter.
One type of crust comes to mind when I think about sheeting. This is the old, cracker-type crust. This type of crust is made from a low water absorption dough with a high protein (typical pizza) flour. The resulting dough is extremely tough and difficult to shape. Add to this the fact that the dough is usually formed very thin, then folded once or twice and reformed again. This makes for a very tough and difficult dough to form by any other method, except for sheeting.
Related: How to keep your pizza dough balls in tip-top shape
Sheeted doughs are created to be flat across their entire surface. With this in mind, the finished crusts also tend to be somewhat flat, lacking a high, rolled, or raised edge unless it has been mechanically formed into the dough piece. In many cases, sheeted crusts exhibit a uniformly flat poker chip appearance unless allowed to proof for a short time after forming.
In the world of large wholesale production, there is a method of producing pizza crusts by the sheet and die cut procedure that does not create these characteristics. This method is commonly known as the “stress free” production method. By this method, large blocks of dough are deposited onto the forming line and very gently reduced in thickness by duplicating hand pressing and rolling of the dough. When formed on this type of equipment, the pizza crusts will exhibit a mix of the physical properties between cold pressed and hand made procedures discussed below.
Cold Pressed Dough

Another entry in the world of dough forming methods is cold pressing. Cold pressing the dough requires that the dough itself be very soft and “flowable.” This is achieved through the use of high water absorption, high finished dough temperatures (90° to 100°F), and generally the use of reducing agents such as L-cysteine, glutathione, deodorized vegetable powder, or sodium metabisulfite. Because the dough is so soft at the time that it is pressed or formed, there is little degassing of the dough. This results in finished crust characteristics such as a bread-like internal crumb structure. Very uniform gas cells distributed throughout the entire crust give the crust a uniform internal appearance.
Due to the soft nature of the dough, it is almost impossible to achieve any type of well-defined raised edge to the pizza crust when using this dough forming method. Also, because of the soft dough characteristics, it must be pressed out upon a pan or baking tray. These pans/trays are characterized with a series of raised, circular ridges on the bottom. These ridges help to grip the dough after pressing, reducing the amount of snap-back. Because the dough must be pressed out and baked on the same pan, that pan is also coated with oil to facilitate release of the baked crust. The oil on the pan actually gives the crust a unique fried bottom characteristic that is impossible to achieve by any other dough forming method where the dough is not baked in a pan or tray.
Cold pressing is a very popular forming method for focaccia bread, where the uniform, round cell structure is desirable, and the soft dough contributes to a uniformly flat cross section, much like that of a giant hockey puck. In almost all cases where the cold press is used, the dough is pressed twice to ensure that it is the full diameter of the pan. It is then allowed to proof (rise) for anything from 20 to 60 minutes to achieve the desired crust height/thickness.
Hot Pressed Dough
Hot pressing, on the other hand, utilizes a dough press that has a heated head and in some cases also a heated bottom plate. The press generally operates in the temperature range of 300° to 400°F. Dwell times (the time that the dough is held under pressure) can run from six to 12 seconds. Some of the presses even have an adjustment allowing you to vary the pressing force applied to the dough. Typically, a force of 800 to 1200 PSI is used for pressing most crusts.
One of the nifty features of the hot press is that some presses allow you to form the dough with a very well-defined raised edge. Because the dough is exposed to the heat of the press head, this raised edge is locked into the crust by the development of a dry, leathery skin. This dry surface also allows the dough to be handled very easily after pressing without the need of a pan or tray. Because only the outer surface of the dough piece is heated by the press surface, the formed dough piece can still be set aside and allowed to proof (rise) if desired. If you want to make an oven-rising type of pizza with a raised edge, this is the preferred method of dough forming.
In some hot presses, only the top head of the press will be heated. Dough formed with this type of press will have to be put onto a tray or pan after pressing since the bottom of the dough piece is still raw and somewhat sticky. One great advantage of this type of press is that dough for thick-crust pizza can be pressed directly into the pan. The heat from the head will pre-heat the dough slightly, helping to speed up the final proofing (rising) of the dough before baking.
Formulas for hot pressed doughs will usually contain some reducing agent similar to the cold pressed doughs, but the desired dough temperature of the hot pressed dough is like that of a regular pizza dough, in the range of 80° to 90°F.
The finished crust characteristics imparted by hot pressing include an open, somewhat coarse internal cell structure that many people find to be very desirable. This cell structure, while open and coarse, is also quite uniform throughout the crust, which tends to result in more uniform baking characteristics for the finished crust/pizza. When a press with both a heated top and bottom is used, the resulting dry skin formed on the dough piece imparts a unique crispiness to the surface of the baked crust that cannot be achieved by any of the other dough forming methods. This dry skin also helps to control the browning of the crust, allowing the crust to be baked longer or at a slightly higher temperature to develop a crispier texture. This is especially beneficial with those formulas containing higher amounts of sugar, where crust browning takes place so fast that a sufficiently thick crust cannot be formed and the baked crust loses its crispiness soon after the pizza is removed from the oven.
Forming Pizza Dough by Hand
Crusts that are formed by hand receive the least amount of work, or punishment, of any of the dough forming methods. While it may not always seem so, this is the most gentle forming method there is. Very little gas is expelled from the dough during the forming process and very little work is put into the dough, resulting in less shrinkage or snap-back in the formed crust. The necessary soft dough characteristics for hand forming are achieved through water absorption. Higher absorption levels provide the softer, more extensible dough characteristics necessary for hand forming. Occasionally, water alone may not be sufficient, so a small amount of a dough relaxer such as L-cysteine (PZ-44) might be called for.
Hand tossing pizza dough isn’t just for showmanship. It serves a very functional purpose. The spinning action helps to create the desired round, circular shape, and the air flow over the dough surface helps to dry the dough for improved handling properties (ever try to toss a sticky dough? It ain’t a pretty sight). That same drying of the dough also forms a bit of a skin on the surface of the dough, which helps to achieve a crispier crust characteristic.
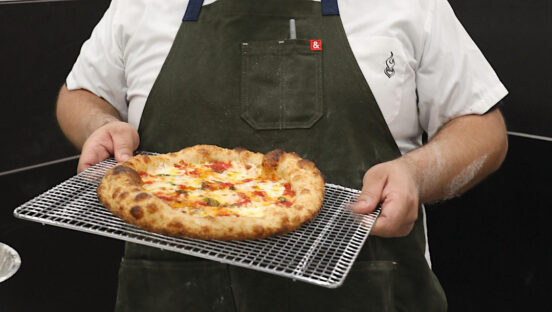
The main characterizing features of a hand-formed crust are a light, “airy” texture due to the fact that the dough was not degassed to a great extent during the forming process. The crust will have a relatively tender chew due to the gentle stretching of the dough during forming. The internal crumb structure will have relatively large holes scattered throughout the crumb. Overall, the crumb will be very non-uniform. This non-uniformity is at least partially responsible for the unique crispiness and flavor associated with hand-formed pizza crusts. The outer edge of hand-formed pizza crusts will almost always be lighter and higher than that of crusts from other dough forming methods. Again, this is the result of the dough not being degassed, or the gas not being redistributed, during the forming process. The non-uniformity of hand-formed pizza crusts is what makes these crusts so unique. No two are alike.
Now you’ve got the low-down on the different dough forming methods. Take a lot of care when choosing the forming method that you want to use. It will influence many of your finished crust/pizza characteristics.
Tom Lehmann is a renowned pizza dough expert and pizza industry consultant. Email him at thedoughdoctor@hotmail.com.
Related: Serious Eats looks at the essential tools for making pizza at home.